Spider Plant Care and How to Grow the Babies
If there’s a plant practically designed to build a beginner’s confidence, it’s the spider plant. Tough, fast-growing, and endlessly forgiving, Chlorophytum comosum has been a windowsill staple for generations, and for good reason. Its arching, ribbon-like leaves add movement to any room, it tolerates the kind of inconsistent care that would doom fussier plants, and — best of all — it rewards you with an endless supply of baby plantlets you can grow into new plants for free. Here’s everything you need to know to keep a spider plant thriving and to turn its babies into a whole new generation of green.
Why Spider Plants Are a Great Choice for Any Skill Level
Spider plants are native to tropical and subtropical regions of southern Africa, where they grow as tough, grass-like clumping plants. That resilience translates well to the average home: spider plants tolerate a wide range of light conditions, bounce back quickly from a missed watering, and are non-toxic to cats and dogs, making them a favorite in pet-friendly households. They also happen to be excellent at filtering indoor air, adding a practical benefit to their easygoing nature.
Light Requirements
Spider plants do best in bright, indirect light, but they’re genuinely adaptable and will tolerate medium or even somewhat low light without complaint, just with slower growth. What they don’t love is intense, direct afternoon sun, which can scorch their leaves and cause brown, crispy patches. A spot a few feet back from an east- or west-facing window, or a north-facing window with decent brightness, works well. If your spider plant’s leaves start looking pale or washed out, it likely wants a bit more light; if you see brown streaks or bleached patches, move it out of direct sun.
Watering
Let the top inch or two of soil dry out between waterings, then water thoroughly until it drains from the bottom of the pot. Spider plants store some water in their thickened, tuberous roots, which is part of why they handle a missed watering so well — but they don’t like sitting in soggy soil for extended periods, so good drainage matters. One quirk worth knowing: spider plants can be sensitive to the fluoride and chlorine found in some tap water, which sometimes shows up as brown leaf tips. If you notice this happening consistently, try switching to filtered water, distilled water, or tap water that’s been left out overnight to let some chemicals dissipate.
Soil and Potting
A standard, well-draining houseplant potting mix suits spider plants fine. They’re vigorous growers and can become root-bound fairly quickly, which actually tends to trigger more baby production, so don’t feel rushed to repot at the first sign of crowded roots. When you do repot — typically every one to two years, or when roots are visibly circling the pot or pushing up through the soil surface — move up just one pot size and choose a container with drainage holes.
Temperature and Humidity
Spider plants are comfortable in typical indoor temperatures between 65 and 80°F and aren’t particularly demanding about humidity, tolerating normal household air without issue. That said, a bit of extra humidity can help keep leaf tips from browning, so keeping them away from heating vents and cold drafts is a simple way to reduce stress.
Feeding
Spider plants aren’t heavy feeders. A balanced, diluted liquid fertilizer applied once a month during spring and summer is plenty to support steady growth. Skip fertilizing in fall and winter when growth naturally slows, and go easy overall — over-fertilizing is a more common cause of leaf tip burn in spider plants than most people realize.
How the Famous “Babies” Form
Once a spider plant matures — usually after it’s been growing for a while and has become somewhat root-bound — it sends out long, wiry stems called stolons. Small white flowers appear along these stems, and after they fade, tiny plantlets, or “spiderettes,” form at the nodes. Each plantlet is a miniature clone of the parent plant, complete with the beginnings of its own root structure, dangling at the end of the stem like a little chandelier of baby plants. A mature, happy spider plant can produce many of these plantlets across a single growing season, especially in bright light with regular care.
How to Propagate the Babies
Turning those dangling plantlets into full new plants is refreshingly simple, and there are two main methods.
Method 1: Root in Water
- Snip a plantlet from its stolon, cutting close to the baby but leaving any small nub of root growth intact if it has one.
- Place the base of the plantlet in a small jar or glass of water, keeping just the bottom submerged.
- Set it in bright, indirect light and change the water every few days to keep it fresh.
- Roots typically develop within one to two weeks; once they’re an inch or two long, the plantlet is ready to pot up in soil.
Method 2: Root Directly in Soil
- Fill a small pot with moist, well-draining potting mix.
- Either snip the plantlet free and nestle its base into the soil, or, if you’d rather not cut it yet, pin the still-attached plantlet down onto the soil surface of a nearby pot using a bent paper clip or small stone.
- Keep the soil consistently moist while roots establish, which usually takes a few weeks.
- Once you feel resistance when gently tugging the plantlet — a sign roots have taken hold — you can snip it free from the mother plant if you haven’t already.
Both methods work well; rooting in water lets you watch progress easily, while rooting directly in soil skips the step of transplanting a water-rooted cutting later. Either way, within a few weeks you’ll have a new, independent spider plant ready to pot up on its own, gift to a friend, or add to your own growing collection.
Varieties Worth Seeking Out
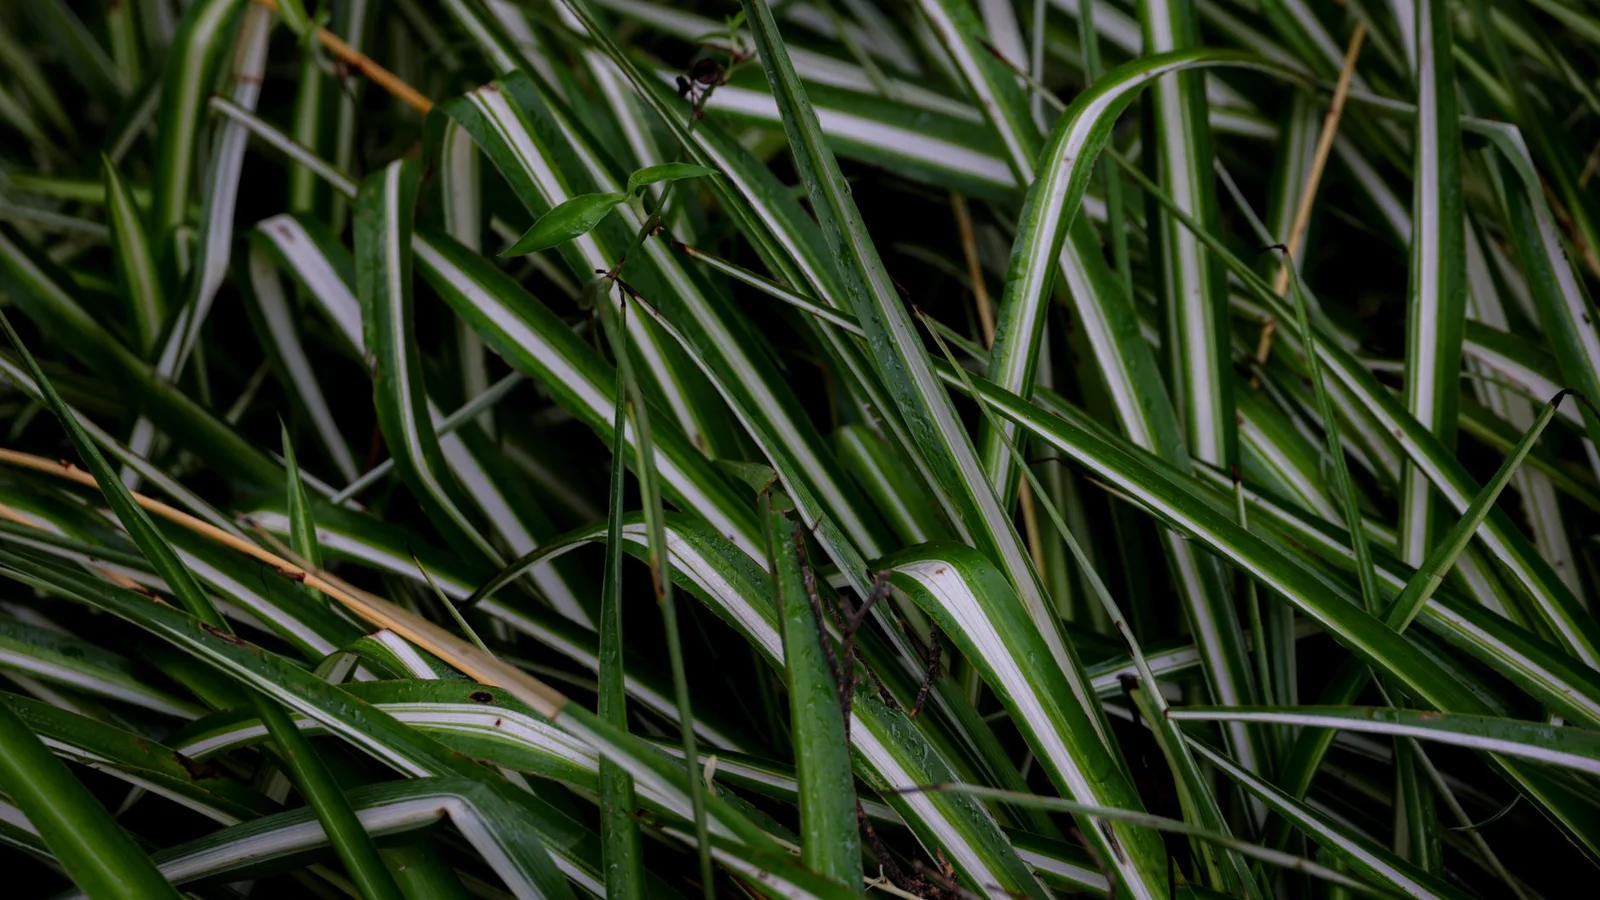
While the classic solid-green spider plant is lovely on its own, most spider plants sold today are variegated cultivars, and it’s worth knowing the difference when you’re shopping. ‘Vittatum’ has a single white or cream stripe running down the center of each leaf, while ‘Variegatum’ features cream-colored margins along the leaf edges instead. ‘Bonnie’ is a curly-leafed cultivar with tightly spiraling foliage that gives it a more compact, textured look than the straight-leafed varieties. All of them share the same easygoing care requirements and baby-producing habit, so choosing between them really just comes down to which leaf pattern you like best.
Common Issues to Watch For
- Brown leaf tips: usually caused by fluoride or chlorine in tap water, dry air, or a buildup of fertilizer salts.
- Pale, washed-out leaves: often a sign of too much direct sun.
- Few or no babies forming: can mean the plant isn’t yet mature enough, isn’t getting quite enough light, or hasn’t become root-bound enough to trigger blooming.
- Yellowing leaves: frequently linked to overwatering or a pot without adequate drainage.
A Plant That Keeps Giving
Part of what makes spider plants so beloved is that caring for them well doesn’t just maintain one plant — it multiplies into many. A single thriving spider plant can, over time, produce enough babies to fill your home, stock a plant swap, or turn into thoughtful gifts for friends who are just starting their own plant journey. Keep it in decent light, water when the soil dries out, and don’t rush to intervene when it looks a little root-bound — that’s often exactly when the babies start to arrive.