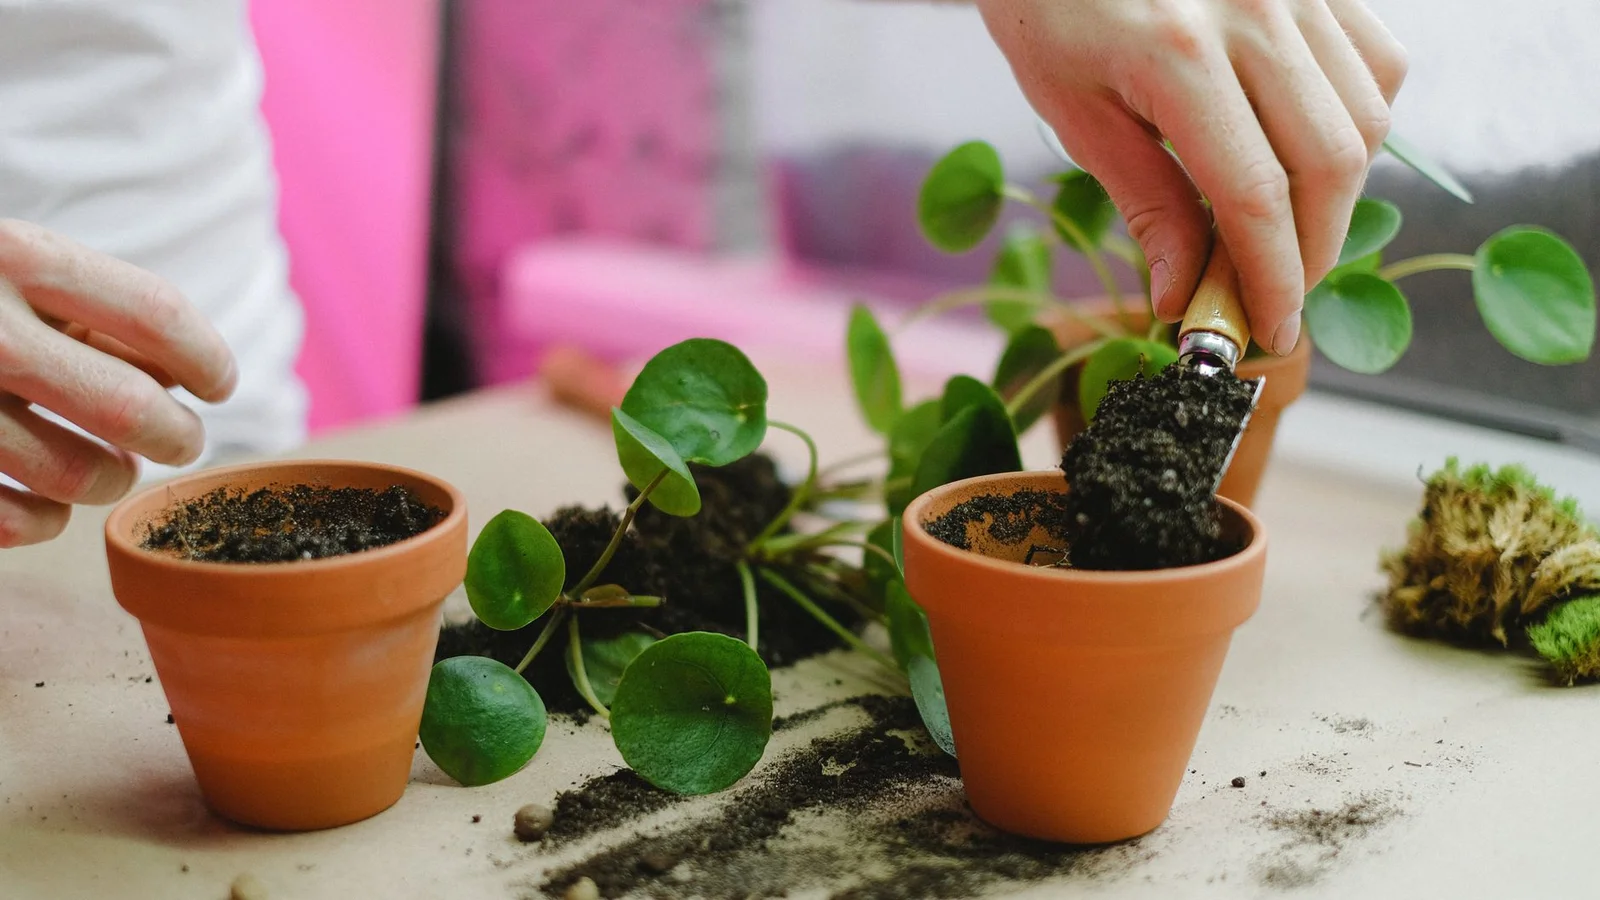
How to Repot a Houseplant Without Killing It
Repotting is one of those houseplant chores that fills people with dread, and honestly, that fear makes sense — you’re pulling a living thing out of its home, shaking dirt off its roots, and hoping it doesn’t hold a grudge. The good news is that repotting stress is almost always avoidable once you understand what a plant actually needs during the process. Done thoughtfully, repotting gives your plant more room to grow, fresh nutrients, and a chance to shed old, compacted soil. Done carelessly, it can shock roots and set a plant back for months. Here’s how to do it the careful way.
How to Tell It’s Actually Time
Repotting on a fixed schedule isn’t as reliable as watching for real signs. Look for these clues before you reach for a bigger pot:
- Roots circling the surface or poking out of drainage holes mean the plant has outgrown its current container.
- Water running straight through the pot without the soil seeming to absorb it often signals a root-bound plant with more root than soil left.
- Growth that has slowed or stalled despite good light and care can point to a pot that’s simply too small to support more growth.
- Soil that dries out unusually fast, sometimes within a day or two of watering, is another root-bound symptom.
- A pot that looks visibly bulging, cracked, or top-heavy compared to the plant is a mechanical red flag as much as a horticultural one.
If none of these apply, resist the urge to repot just because it’s spring or because everyone else is doing it. Unnecessary repotting disturbs healthy roots for no real benefit.
Choosing the Right New Pot
Bigger is not automatically better. A common mistake is jumping several sizes up at once, which leaves excess soil around the roots that stays wet far longer than the plant can use, inviting root rot. As a general rule, go up only one to two inches in diameter from the current pot. Always make sure the new pot has a drainage hole; without one, excess water has nowhere to go and will pool around the roots no matter how careful you are with watering. If you love a decorative pot without drainage, use it as a cachepot and keep the plant in its drained nursery pot inside.
Picking the Right Time
Most houseplants handle repotting best during their active growing season, typically spring through summer, when they have the energy to recover quickly and push new roots into fresh soil. Repotting in late fall or winter, when many plants are semi-dormant, tends to slow recovery and can leave a plant sitting in damp soil with little root activity to absorb the moisture. If you’re dealing with an emergency, like a cracked pot or a serious pest infestation in the soil, go ahead and repot regardless of season — a stressed plant needs help now, not in six months.
Gathering What You’ll Need
Set yourself up before you touch the plant:
- A new pot, one to two sizes up, with drainage
- Fresh potting mix suited to the plant (a general well-draining mix for most tropicals, a chunkier aroid mix for monsteras and philodendrons, or a gritty cactus mix for succulents)
- A trowel or old spoon
- Clean scissors or pruning snips for any damaged roots
- A watering can and a spot where mess is fine, like a sink, tub, or outdoor table
The Step-by-Step Process
1. Water the Plant a Day Ahead
Slightly moist soil holds together better and slides out of the pot more easily than bone-dry soil, and it’s gentler on roots than repotting immediately after a heavy watering.
2. Ease the Plant Out
Tip the pot on its side and gently squeeze the sides if it’s plastic, or run a butter knife around the inside edge if it’s a rigid or ceramic pot. Slide the plant out by supporting the base of the stem, never by pulling on the leaves or stem itself, which can tear tissue or snap growth.
3. Inspect and Loosen the Roots
Take a look at the root ball. If roots are tightly wound in a circular pattern, gently tease them apart with your fingers to encourage them to grow outward into the new soil instead of continuing to spiral. Trim away any roots that are mushy, black, or foul-smelling with clean scissors — these are dead or rotting and won’t recover, and leaving them in can spread rot to healthy tissue.
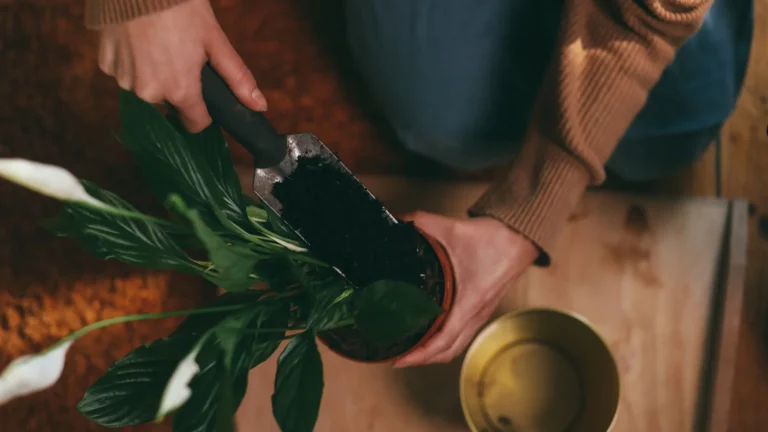
4. Add a Base Layer of Fresh Soil
Put enough fresh mix in the bottom of the new pot so that, once the plant is set on top, the base of the stem sits at roughly the same depth it was in the old pot. Burying the stem too deep can cause rot at the base.
5. Center the Plant and Backfill
Set the plant in place and fill in around the sides with fresh soil, pressing gently as you go to eliminate large air pockets, but avoid packing it down hard — roots need room to breathe and expand.
6. Water Thoroughly
Give the plant a good soak until water runs from the drainage holes. This settles the soil around the roots and closes up any remaining air gaps.
Aftercare: The Part People Skip
Newly repotted plants are in a vulnerable window for the first few weeks, so treat them gently. Keep the plant in the same light conditions it was already used to rather than moving it somewhere new at the same time — that’s two stresses at once. Hold off on fertilizing for about four to six weeks, since fresh potting mix usually contains some nutrients already and disturbed roots aren’t ready to process a feeding right away. It’s completely normal to see a leaf or two droop or yellow in the days after repotting; this is typically temporary transplant shock, not a sign of failure, as long as the plant otherwise looks stable.
Mistakes That Cause Real Damage
- Sizing up too dramatically leaves excess wet soil that roots can’t use, a leading cause of post-repot root rot.
- Repotting a plant that’s already stressed from pests, disease, or severe underwatering without addressing the underlying issue first only compounds the problem.
- Using garden soil instead of potting mix introduces poor drainage and potential pathogens that outdoor soil is full of but indoor pots can’t handle.
- Repotting and fertilizing on the same day can burn fragile, disturbed roots that aren’t ready for concentrated nutrients.
Special Cases Worth Knowing
Not every plant follows the standard playbook. Succulents and cacti prefer to sit dry for several days both before and after repotting rather than being watered the day ahead, since their fleshy roots are prone to rot if fresh cuts or breaks stay damp too long. Plants with sensitive or brittle roots, like certain ferns and calatheas, benefit from working in small sections and being kept in high humidity for a week or two afterward to ease the transition. Very large or top-heavy plants, such as a mature fiddle leaf fig or bird of paradise, are easier and safer to repot with a second pair of hands — one person to tip and support the plant, the other to manage the pot and soil.
What If You Don’t Want a Bigger Pot?
Sometimes a plant has reached the maximum size you want it to be, whether because of space constraints or personal preference, but it still needs fresh soil. In that case, you can repot into the same size container. Simply trim back a portion of the root mass — up to about a quarter of the roots for a healthy, well-established plant — before returning it to its pot with new soil. This refreshes the growing medium and gives the plant a nutrient boost without letting it get any larger, which is a handy technique for keeping a favorite plant at a manageable size indefinitely.
Repotting doesn’t have to be a nerve-wracking event. With the right timing, a properly sized pot, and a gentle hand around the roots, most houseplants barely skip a beat — and within a season, you’ll likely see the reward in the form of fuller, faster growth that simply had more room to happen.