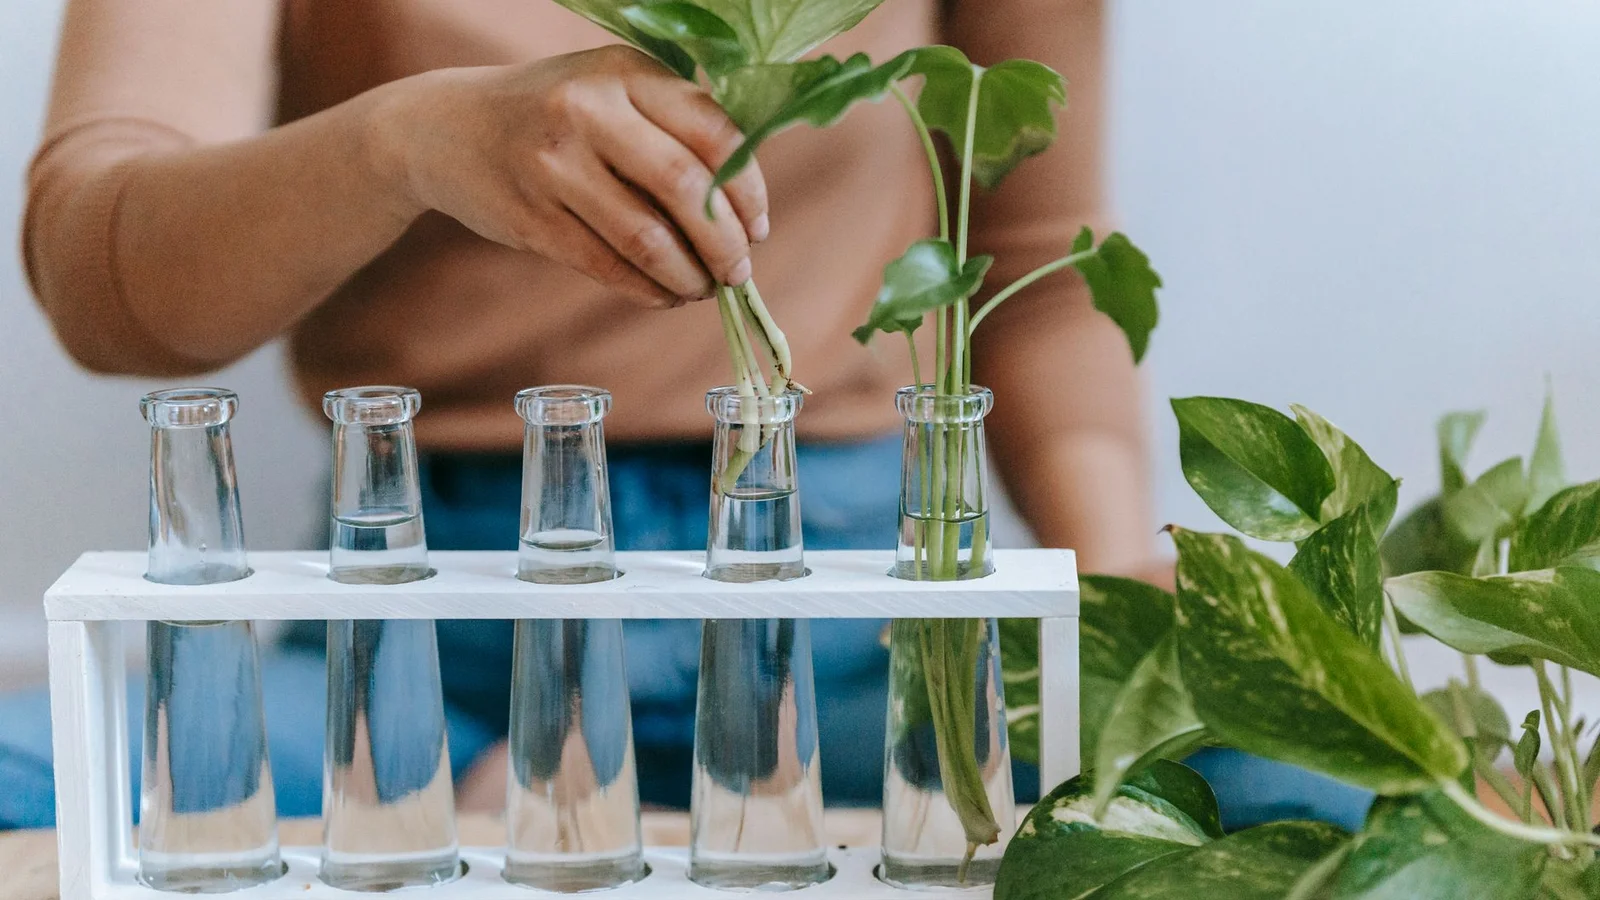
How to Propagate Houseplants in Water, Step by Step
There’s something quietly magical about watching a plant grow roots in a jar of water on your windowsill. Propagating houseplants in water is one of the most beginner-friendly ways to multiply your plant collection — it’s inexpensive, it lets you watch the entire rooting process unfold before your eyes, and it’s a wonderful way to turn a single plant into gifts for friends or extra pots for your own home. Best of all, most common houseplants root readily in water with nothing more than a clean cutting, a jar, and a bit of patience. Here’s a complete, step-by-step guide to doing it well.
Which Plants Root Well in Water
Not every houseplant is a good candidate for water propagation, but many popular ones are, including:
- Pothos
- Philodendron (heartleaf and other vining types)
- Monstera
- Ivy
- Tradescantia (wandering dude)
- Chinese evergreen (Aglaonema)
- Coleus
- Peperomia
- African violet (from a single leaf)
- Snake plant (from leaf sections)
Plants with a clear node — the small bump or joint on a stem where leaves and roots emerge — tend to root fastest and most reliably. Vining plants like pothos and philodendron are the classic beginner choice because their nodes are easy to spot and they root quickly, often within two to three weeks.
Step 1: Choose and Take Your Cutting
Start with a healthy parent plant, free of pests or disease. Using clean, sharp scissors or pruning snips (wipe the blades with rubbing alcohol first to avoid spreading bacteria), take a cutting that includes at least one node and ideally two or three. For vining plants, a cutting 4 to 6 inches long with two to four leaves is a good size to work with.
Make your cut just below a node, at a slight angle. The node is where new roots will form, so it needs to be submerged in water — a cutting with no node attached will not root, no matter how long you wait.
Remove any leaves that would sit below the waterline. Leaves left underwater will rot and can foul the water, encouraging bacteria and mold that harm the cutting. Leave at least one or two leaves above the water to keep the cutting photosynthesizing.
Step 2: Prepare Your Container
Any clean glass jar, vase, or bottle works. Many people like clear glass specifically because it lets you watch root development, but the plant doesn’t care — opaque containers work just as well.
Fill the container with room-temperature water, enough to submerge the node(s) but keep the leaves dry. If your tap water is heavily chlorinated or very hard, letting it sit out for 24 hours before use, or using filtered water, can help — though most houseplants tolerate regular tap water just fine.
Step 3: Find the Right Spot
Place your jar somewhere with bright, indirect light. Avoid direct sun, which can overheat the water and stress the cutting, and avoid deep shade, which slows rooting to a crawl. A spot near an east-facing window or a few feet back from a south- or west-facing one is usually ideal.
Step 4: Maintain the Water
This is the step most people skip, and it’s the one that makes the biggest difference in success rates.
- Change the water every 5 to 7 days. Stagnant water grows bacteria and algae, which can rot the cutting before it ever roots.
- Top off water as it evaporates between full changes, so the node stays submerged.
- Rinse the jar when you change the water to clear away any slime that’s built up on the glass.
- If you notice the cutting’s stem turning brown or mushy, trim it back to healthy tissue and change the water immediately.
Step 5: Be Patient
Rooting time varies widely by plant type, season, and conditions, but most common houseplants show the first tiny root nubs within one to three weeks, with roots reaching a plantable length (around 1 to 2 inches) in four to six weeks. Propagation is generally faster during spring and summer, when plants are actively growing, and slower in fall and winter.
Resist the urge to move a cutting to soil too early. Roots grown in water are more brittle and adapted to that watery environment; giving them time to develop a solid network of roots — ideally several roots at least an inch or two long — makes the transition to soil much more successful.
Step 6: Transition to Soil (Or Keep It in Water)
Once roots are well developed, you have two choices.
Moving to Soil
Plant the rooted cutting in a small pot with fresh, well-draining potting mix. Water it in well immediately after planting to help the soil settle around the new roots and eliminate air pockets. For the first week or two, keep the soil consistently moist (not soggy) and consider keeping humidity slightly elevated, since water roots need to adjust to a very different environment than soil roots. Some transplant shock — a bit of drooping or a dropped leaf — is normal and usually resolves within a week or so.
Keeping It in Water Long-Term
Many plants, especially pothos and philodendron, can actually live indefinitely in water alone. If you like the look of a plant growing in a vase, simply continue the water-changing routine and add a few drops of diluted liquid fertilizer occasionally, since plants grown purely in water eventually deplete the minerals available to them.
Troubleshooting Common Issues
- Cutting turns mushy or black at the base: usually rot from water that wasn’t changed often enough. Trim above the damaged area and start fresh with clean water.
- No roots after many weeks: check that a node is actually submerged, confirm the plant type is suited to water propagation, and make sure it’s getting enough indirect light.
- Yellowing leaves on the cutting: a leaf or two yellowing and dropping is normal as the cutting redirects energy into root growth. Widespread yellowing may mean the water needs changing more frequently.
- Algae growing in the jar: a sign of too much direct light reaching the water. Move the jar back from the window slightly, or switch to a tinted or opaque container.
A Few Tips for More Success
Propagate multiple cuttings from the same plant at once — not every cutting roots successfully, and having a few in progress improves your odds of ending up with at least one healthy new plant. Label your jars if you’re propagating several different plants at once, since cuttings can look surprisingly similar before they leaf out. And don’t be afraid to experiment: water propagation is low-cost and low-risk, which makes it one of the best ways to learn how your plants actually grow.
Best Time of Year to Propagate
While you can technically try water propagation any time of year, your success rate and rooting speed will be noticeably better during spring and summer. This is when most houseplants are in active growth mode, putting energy into new roots and leaves rather than conserving resources for winter. If you take cuttings in late fall or winter, don’t be discouraged if rooting takes longer than expected — the cutting isn’t doing anything wrong, it’s simply following the plant’s natural seasonal rhythm. Supplementing with a grow light during the darker months can help keep things moving along at a more consistent pace.
Tools Worth Having on Hand
You don’t need much to get started, but a few basics make the process smoother:
- Sharp, clean scissors or snips for precise cuts that heal quickly and don’t crush the stem tissue.
- Rubbing alcohol to sterilize blades between plants, especially important if any of your plants have shown signs of pests or disease.
- Small glass jars or bud vases in a few sizes, so you can match container to cutting length.
- A permanent marker or masking tape for labeling jars when propagating multiple plant varieties at once.
Final Thoughts
Water propagation turns a single cutting into a small, ongoing science experiment on your windowsill — and it’s one of the most satisfying ways to expand your plant collection without spending another dime. With a clean jar, fresh water, bright indirect light, and a little patience, you’ll have new roots forming before you know it, ready to pot up and grow into plants of their own.